
I have had garment sewing on my mind lately. I have patterns and fabric and plenty of ideas and after finishing a big commissioned quilt job, I finally had the time to work on some clothes without guilt about what I “should” be working on.
This past Wednesday was my birthday and I made the decision to avoid all work for the day and just make stuff. Sounds indulgent, right? And I suppose it was, except I think the freedom I gave myself backfired and I felt a little bit like a deer in the headlights. Despite having several projects I could have worked on, I froze. I could not seem to get myself to pull out a pattern and start working on the blouse I’ve had on my mind for a few weeks.
I pawed through my rubber stamps and considered making some cards to replenish my dwindling stock on hand. Then I got the urge to pull out the paint and a small block canvas. I told myself that I’d paint a little and while I waited for the paint to dry, I’d sew.
It’s been many months since I painted and once I got started, I didn’t want to stop. So I figured, why not go with it? It was my birthday, I should do what made me most happy, right?
I took photos of the steps along the way because I thought it would be fun to see the process unfold and to share it here on the blog. I didn’t use any thing fancy in the least – this is made with a cheap box canvas, bottles of inexpensive acrylic paint, some rubber stamps and ink, a permanent marker, a rub-on transfer, and a metal charm. Here’s how this little treasure came together:
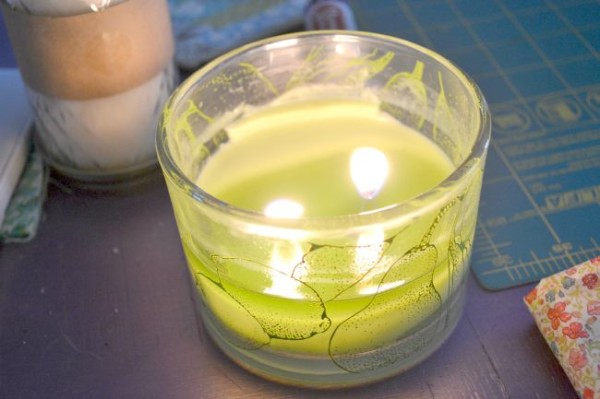
First and foremost, I lit a scented candle, because a sweet and fruity scent = happiness in my world!
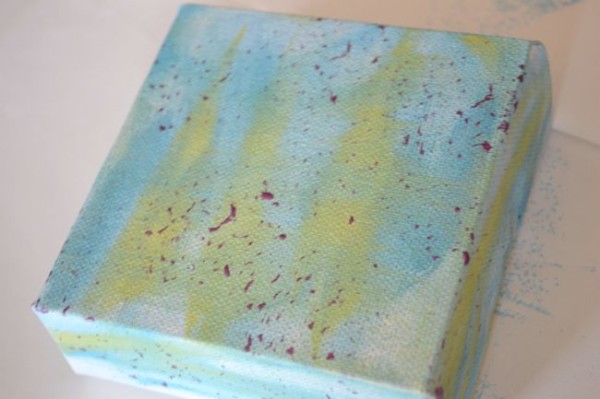
Starting with a 5"x5" box canvas, I covered it with two shades of blue, some yellow, and metallic purple splotches.
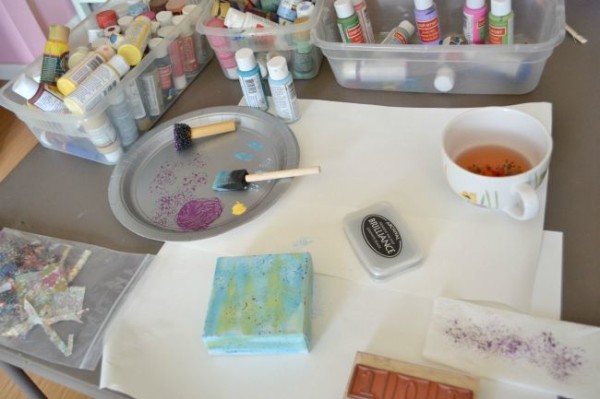
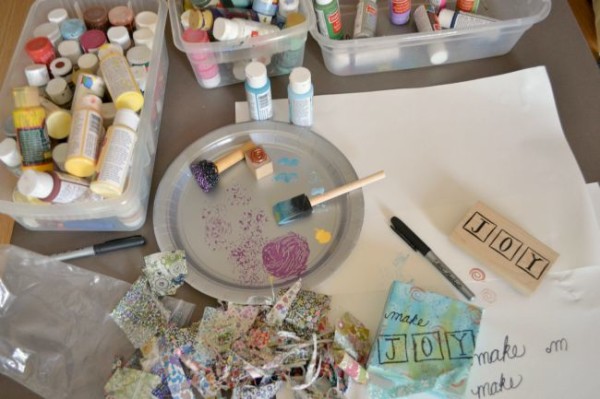
This is what my work table looked like at this point.
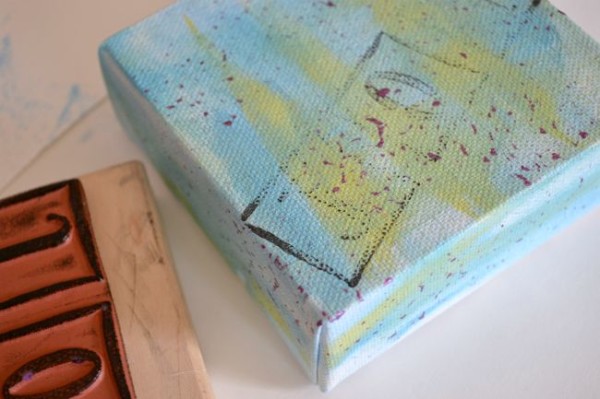
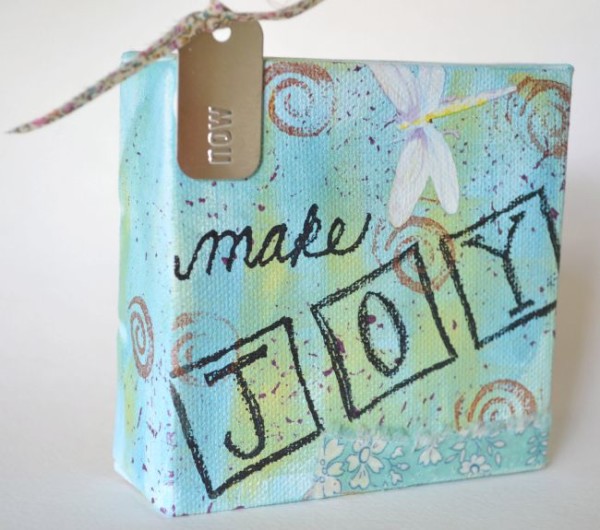
I used a stamp that says "JOY" and it didn't work out how I'd planned. Despite using plenty of ink, it didn't leave much ink on the canvas. So onto Plan B.
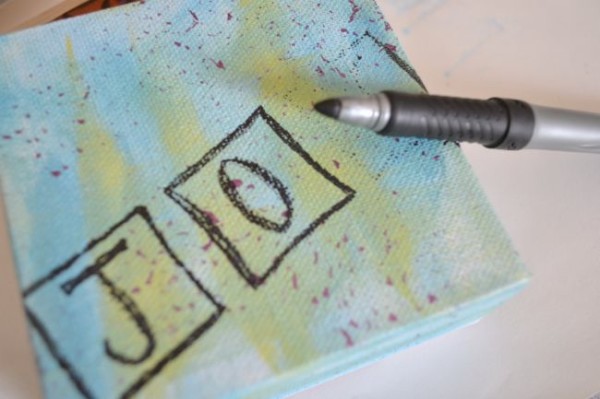
I grabbed a Sharpie and inked in the letters freehand. Not bad!
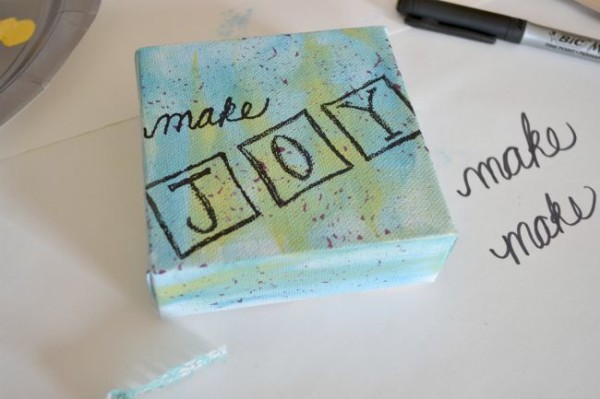
I added the work "make" freehand (I practiced it a few times first).
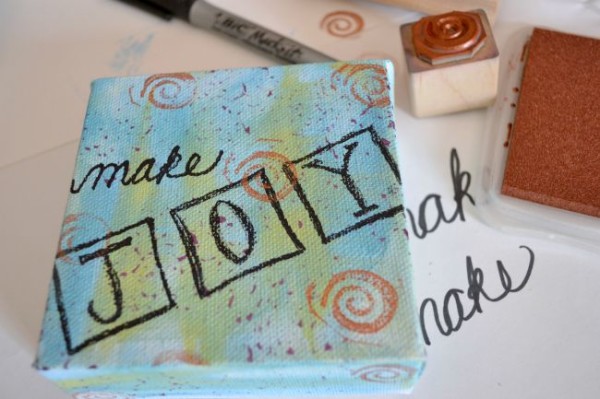
And then I added some copper-colored spirals with a another rubber stamp (this one worked fine, so who knows why the first one didn't work).
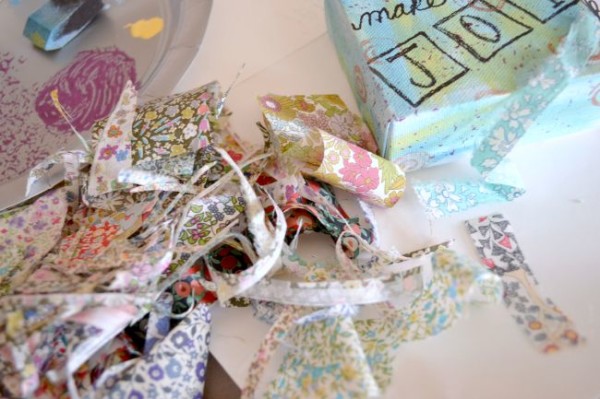
Oh Liberty, sweet Liberty! My itty bitty scraps were calling my name.
The table is getting pretty messy by this point.
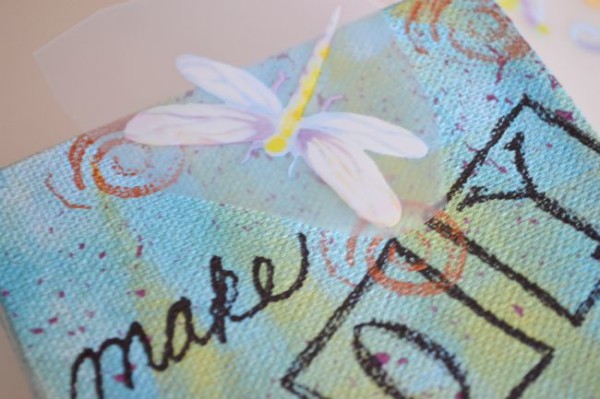
I added a dragonfly with a rub-on, bending it over to the top of the canvas.
The Liberty scrap has been added but maybe it needs a little bit of shine.
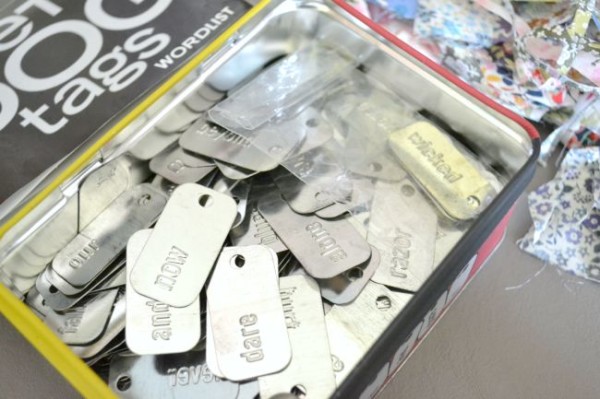
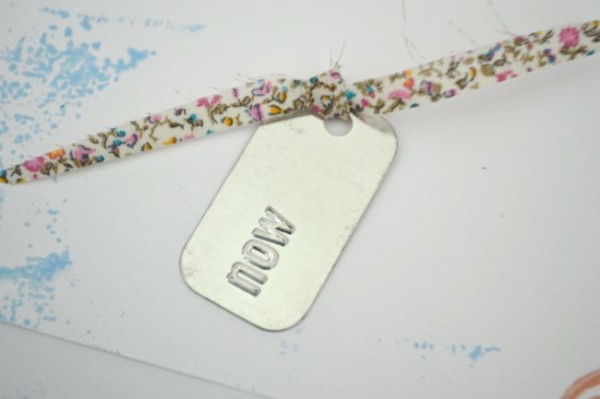
Poetry dog tags come to the rescue. The word "now" was sitting on top of the pile, so I took that as a sign.
I added just a touch more Liberty.
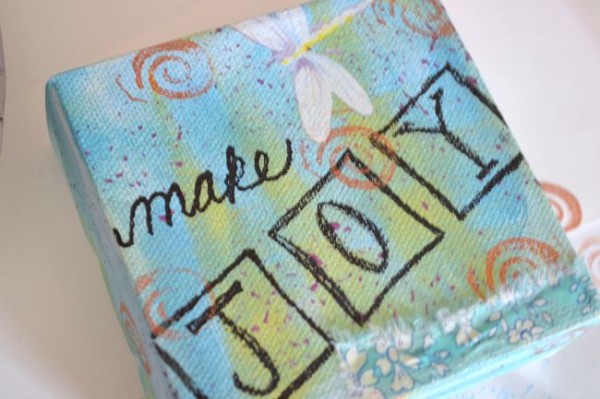
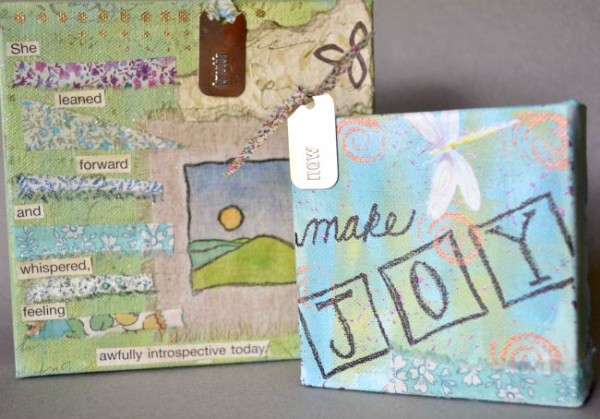
And glued the tag to the upper left edge. And it's done!
Although I didn't plan this project out when I started, it came out quite similar to one I made several months ago. That bothered me a little at first, but then I figured because I made both of them without a plan and purely intuitively, it was just my personal style coming through, which is a good thing, right?!?
This was a really fun project and a great way to spend my birthday. And even better, the project used stuff I had laying around. Try it for yourself with all the random craft supplies you've got!