
It’s finally summertime and that means road trips and afternoons at the pool and a bit more unstructured down time. What better way to keep your hands busy while passing time in the car or at a picnic than with a bit of hand sewing?
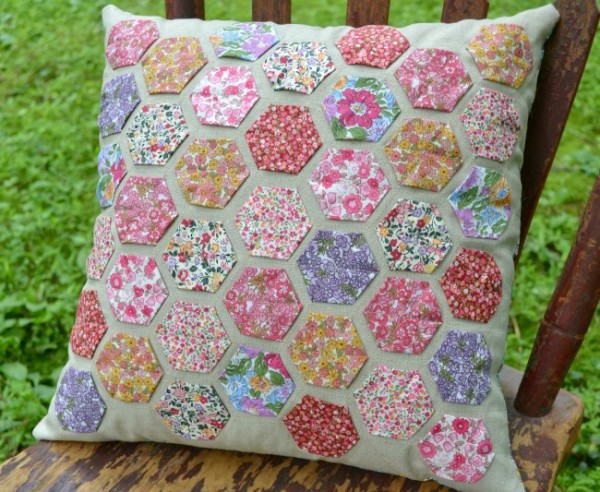
While historically people made hundreds upon hundreds of little fabric hexagons (or “hexies” as they’re often called) and then carefully hand-pieced them all together into a quilt, there are ways we can enjoy the look of hexies today without all the time that hand piecing requires. This pillow project fits the bill - it’s very scrap-friendly and also makes a great gift (I’m making a pile of them this summer to get a jump on my holiday crafting - for maybe the first time ever).
I’ve divided this tutorial into three parts over the next three weeks. This week I’ll show you how to make the hexies, next week I’ll show you how to machine appliqué them onto the pillow cover front, and the last week I’ll show you how to complete the pillow cover with a hidden zipper (it’s way easier than you think!).
If you want to be prepared, the supplies you will need for the whole project are:
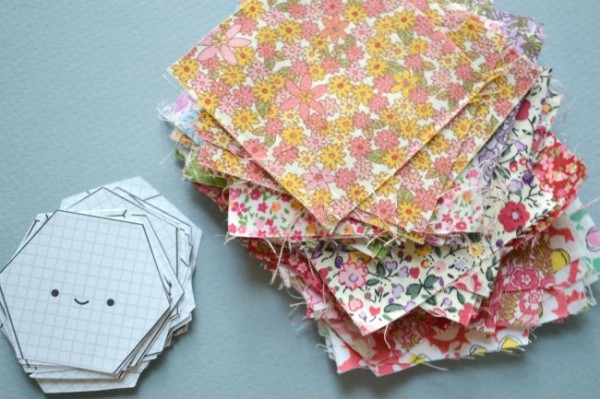
- 40 - 45 scraps of fabric that are at least 2.5” square
- a spool of cotton thread in a bright color (you will be eventually be removing it so use up your scraps or crazy colors)
- a 14” x 14” square of fabric for the pillow front (I like to use thick felt or linen because I like the textures)
- a half yard of fabric for the pillow back
- one 12” zipper (it will be hidden so any color will work)
- sewing machine with thread the coordinates with your pillow top
- iron
- a 14"x14" pillow form

For this first week, you’ll need:
- The Wild Olive hexie template (3 sheets, cut apart - follow her ingenious instructions!)
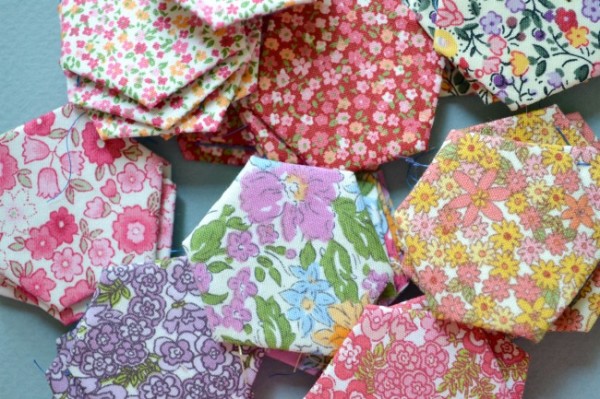
- your 40-45 fabric scraps
- your bright cotton thread
- needle and scissors
- iron
If your fabric scraps are wrinkled, you will want to give them a quick press. While they don’t have to be perfectly square, the closer they are to a 2.5” square, the easier it will be.
To make this pillow, you will need 39 completed hexies. If you use three full sheets of the Wild Olive hexies, you will end up with 45 hexies - it’s good to have a few extra to play around with. Sometimes one or more end up a little wonky after you've sewn them so it’s better to have a few extra to swap out rather than having to remake one or more to get them to fit right.
Thread your needle with about 15” of the brightly colored thread and knot the end. Make sure your thread is cotton because you’ll be pressing it with a very hot iron and you don’t want it to melt.
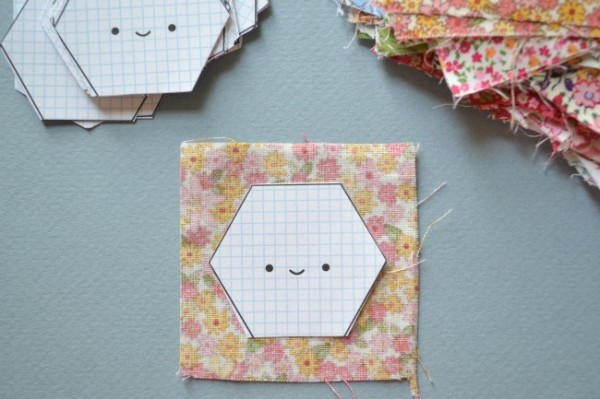
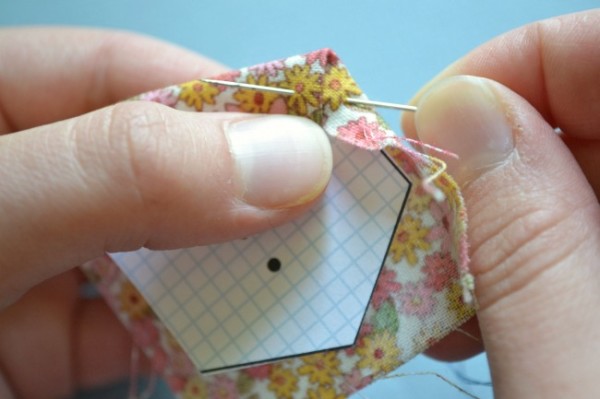
Take one paper hexie and center it on your fabric scrap. It doesn't matter if the smiley face is up or down but why wouldn't you want to see this cute little beaming face?!?

Fold the top edge down over the paper template, holding it with your finger.
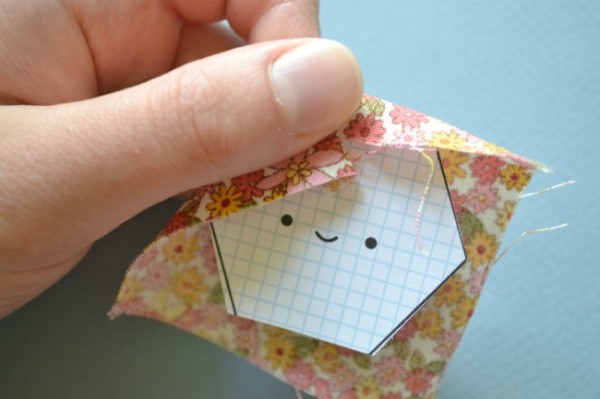
Fold the next fabric edge over the template, now holding both edges with your finger.
Take a stitch through the fabric fold that’s between the first two edges of the hexie. There is no real right or wrong way to do this, just secure the fold so it doesn’t pop out. Don’t use any more stitches than necessary, since you have to eventually cut these stitches out. Try not to stitch through the paper hexie template, but if you do, it’s not the end of the world.
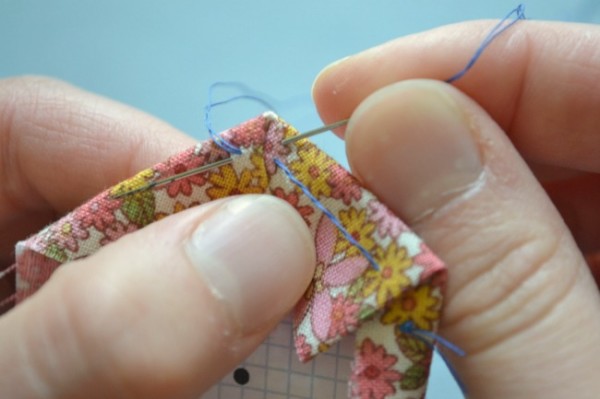
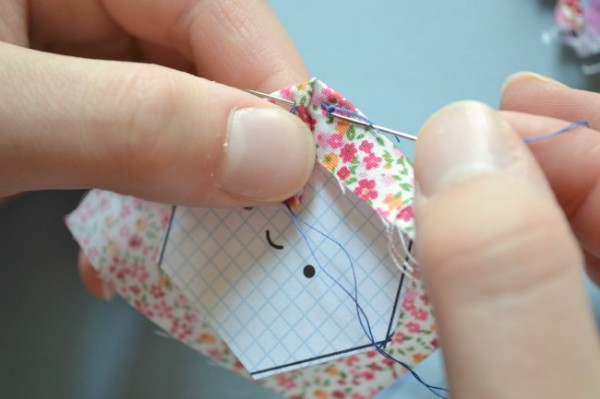
Turn the hexie in your hand, fold down the next edge, and secure the fold with another stitch.
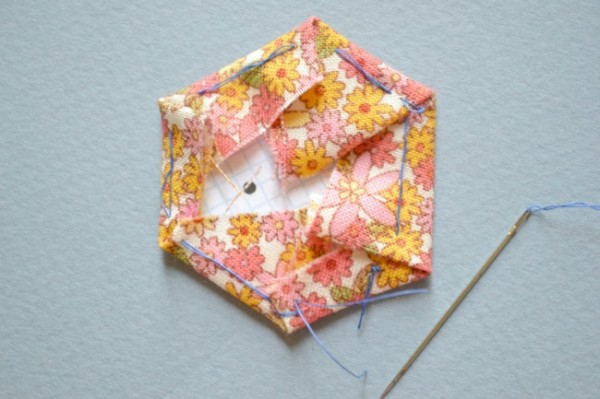
Stitch all the way around all six sides of the hexagon. Secure the last fold and snip the thread. You don’t need to knot the last stitch, you can just leave a short tail and snip the thread. This will make pulling the thread out later a little easier. Peekaboo!
Repeat with all the remaining paper hexies and fabric scraps.
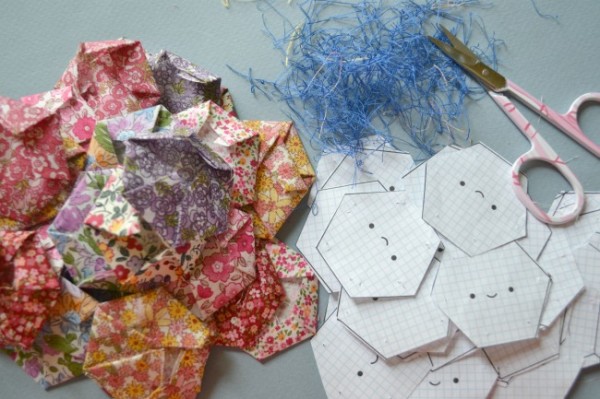
Look at all those finished pretty hexies!
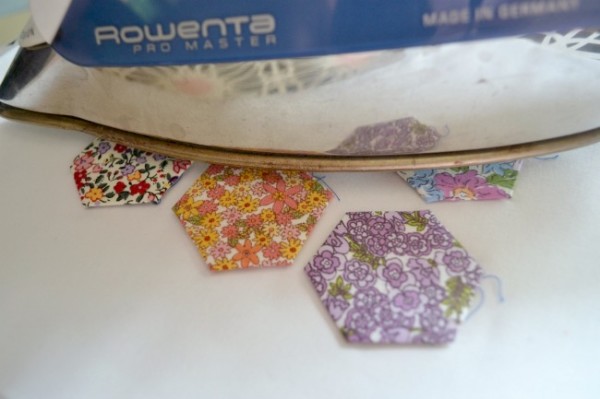
Using a hot hot iron (the cotton setting is best), press your hexies. Try not to slide your iron over the top of them - instead, press them down, pick up the iron and move it over, and press again. This will keep your hexies from getting wiggled out of shape (yes that’s a technical term in case you were wondering).
Once they are all cool, it’s time to remove the papers and threads!
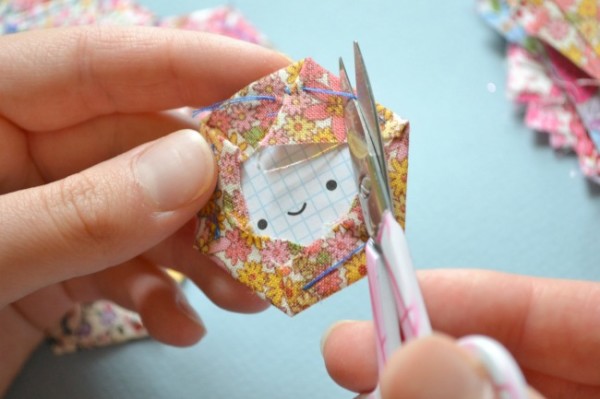
Using small, sharp scissors, snip the threads around your hexie and carefully pull them all out. Carefully pull the paper templates out and set them aside - you can use them over and over again. If any edges of fabric popped out, gently refold them back in.
That's it for this week, so get busy gathering up your scraps and stitching your pile of hexies. Next week I'll show you how to lay them out and sew them onto a pillow top, so be sure to stop back.
Happy hexie sewing this week!